
How to Make Hard Apple Cider
Our guide to turning apple juice into booze.
As we realized on our last post , it was time to stop talking emphatically about the cultural significance of cider, and start getting to the business of making it. Though we had read more websites, emails, and books than we could know what to do with, we were still confused, and more importantly, l didn't have a solid recipe. It was beginning to be a problem.
At its simplest, hard apple cider is pressed and strained apples that are left to sit around until residual yeast on the apples' skin turns the sugar into alcohol. That's the traditional way to do it, how it was done for a long time. But today, most people prefer to use packaged yeast: this ensures that the cider will taste right, rather than being subject to a wild yeast, and it is the only way to succeed if the juice has been pastuerized, which is usually the case unless you press your own apples.
The appeal of hard cider is enormous: all that's needed is apple cider, some yeast, and equipment to ferment it in. But the information available about each part of that process--the juice, the yeast, and technique--ranged from overly simplified to dorky and confusing. Finding good advice was proving difficult.
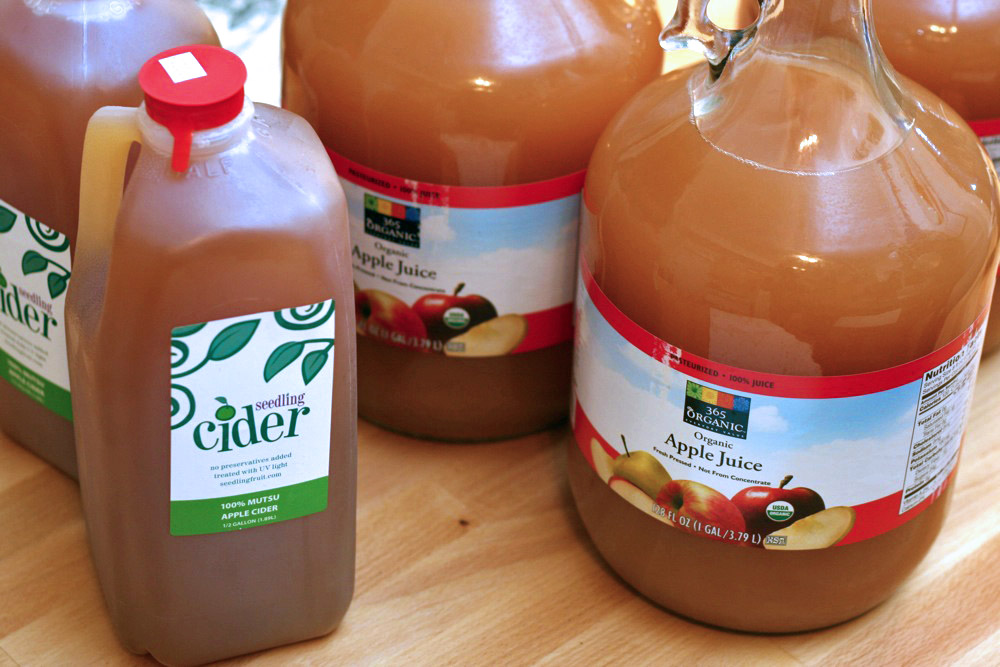
Our salvation came in two forms: first, the fact that Whole Foods Market carries 1-gallon glass jugs of apple juice, for $6.99, which would suddenly supply us with both the container and the juice to begin our adventure. And two, a confidence-boosting e-mail from a reader named Michael, who noted my tweet about using champagne yeast to ferment some cider, and who explained the process clearly via email.
And so we gathered four glass jugs, two kinds of yeast and juice, and some rubber stopper airlocks from the local Brew & Grow store near Bucktown. Our adventure would begin.
The Juice
Our juice decision once we'd found the Whole Foods jugs was easy: we'd experiment with that juice, knowing that a failure wouldn't waste much cash. But we also wanted to try some local, delicious cider from a farmers' market to see how it would differ. Seedling Cider is sold throughout Chicago, and is richly flavorful. It is also pasteurized using a UV light system that doesn't require heating the juice, and thereby preserving as much fresh apple flavor as possible. We went with their Mutsu Apple cider, which tasted the best at the market.
The Yeast
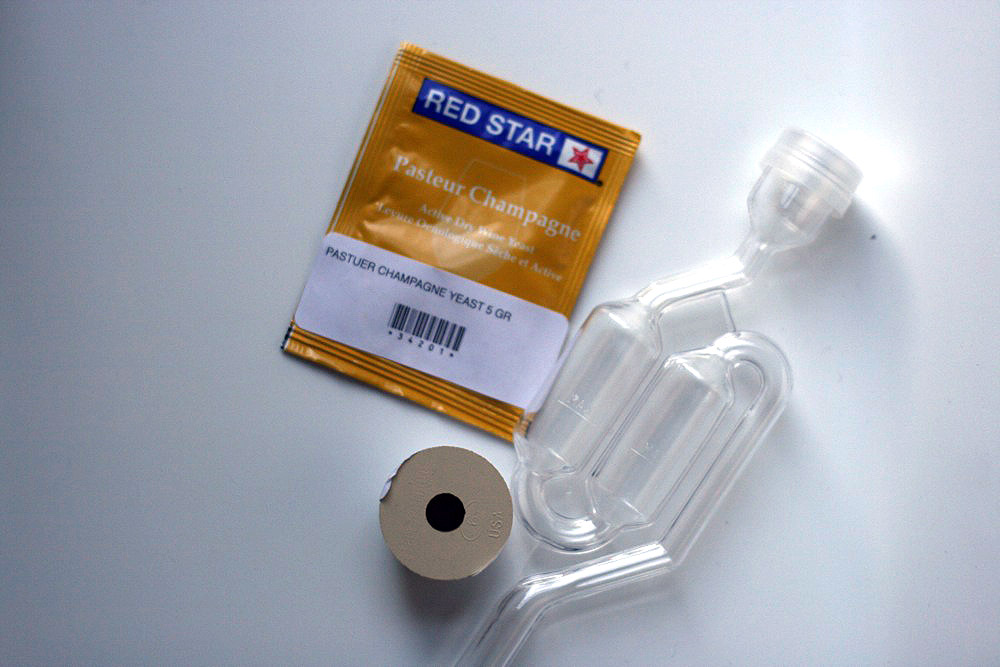
Most Internet sources suggest champagne yeast as the best option for cider-making, and that's what we first bought. Even the local brew store said it was the best. At that point, cider making seemed incredibly simple: toss in the cheap champagne yeast and off we go. But then a reader named Michael wrote us an email cautioning against champagne yeast. "I made my first two batches with Champagne yeast," he wrote, "thinking that this would help me create the crisp dry flavor I was looking for; instead I got a really high alcohol white wine essentially, that never carbonated, and is pretty unforgiving."
"Unforgiving" was not what we needed as amatuer cider makers. Michael went on to recommend ale yeast, which is (obviously) designed for beer-making. There are lots of suggestions at this page on Homebrewtalk.com about types of yeast to use with cider, most of which can be found in brew stores: Nottingham is a favorite, and Safale S-04 and Safale S-05 are mentioned.
But the overall jist was that using a beer yeast would give us a lot more flavor and would also be easier to work with .
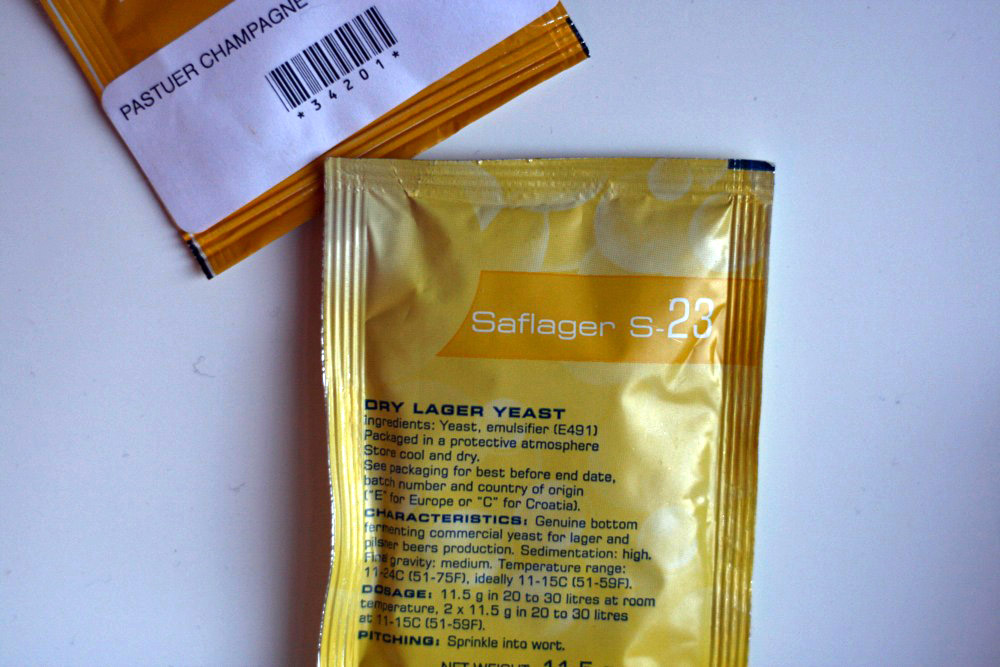
The only mentioned beer yeast that our local shop had in stock was Saflager S-23, which is actually a lager yeast (Safale = ale; Saflager = lager). So we went with it.
The Equipment
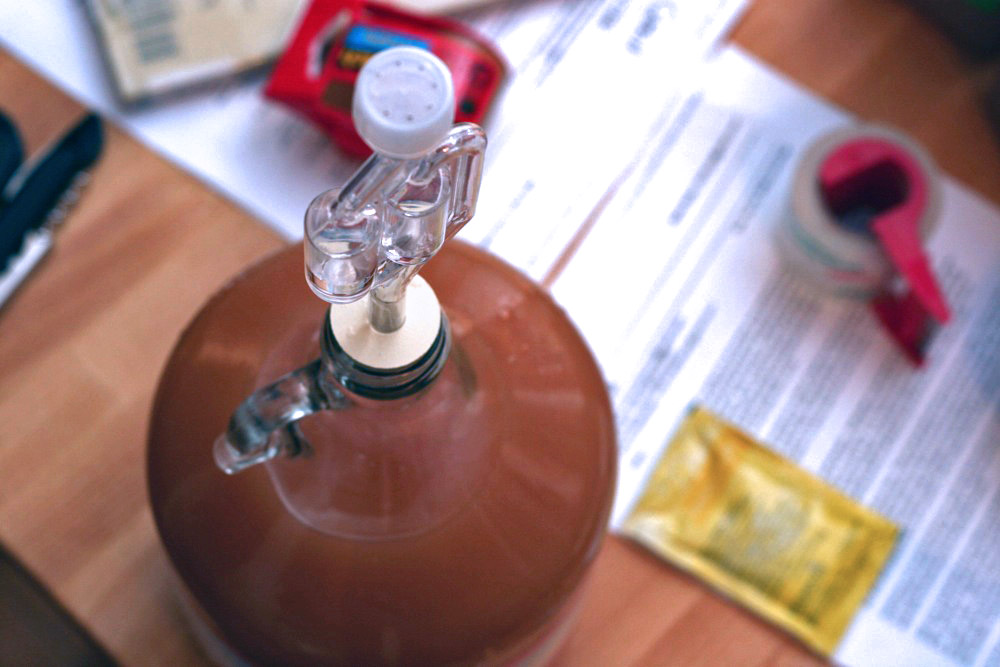
The only equipment for the fermentation is a jug to house the cider, plus a simple airlock which allows the gas produced by the yeast to escape, while also sealing off the container from outside microbes and bacteria going in. The airlock can be as jank as a balloon with a pinhole in it , or any brewing supply store carries the two-chamber airlock device we used, which costs less than a dollar.
Where to house all that liquid isn't immediately obvious. We wanted to make multiple small batches, and most brewing supplies assume you want to produce 5 gallon batches of everything. The container must be food-safe plastic or, even better, glass. Though a jug of Carlo Rossi was discussed at some of our more desperate moments, with plans to dump it down the sink, we eventually found the Whole Foods 1 gallon glass jugs of apple juice, which meant we'd receive not only a good fermenting glass jug, but could use the very juice inside it for our initial experiments.
There are also tools to help you gauge the sugar levels, but we didn't have them, and it only gets more complicated from there. This is the point in time when our heads started expanding, and we stared out into space for about 5 minutes wondering what to do next.
Eh, forget it. We figured we should just get started. If the ciders failed, we'd loose all of 7 bucks.
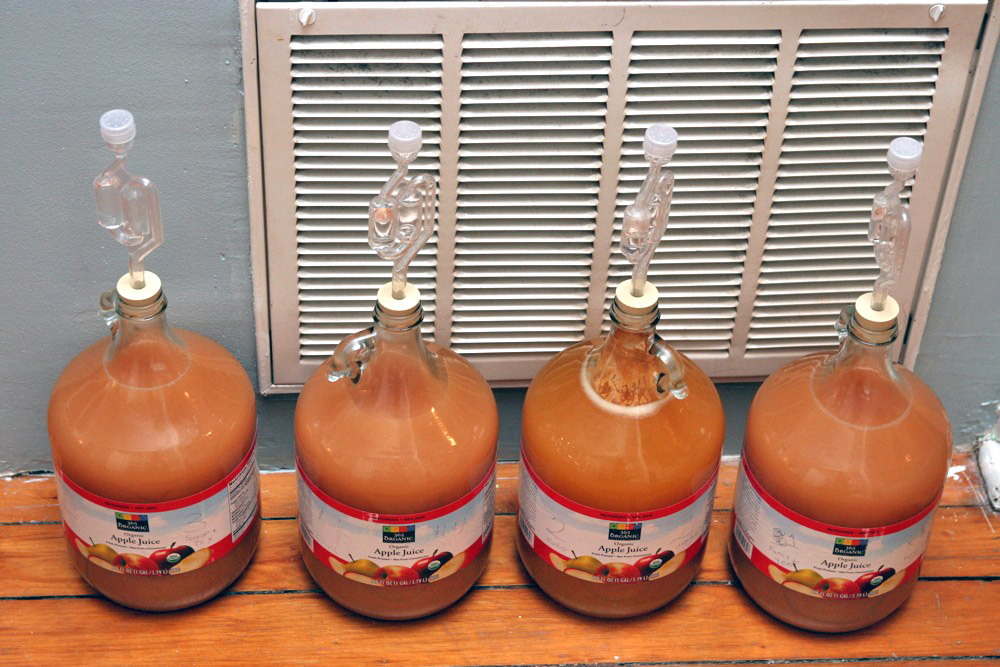
The Batches
We decided to make four different batches. We'd have a super-simple control batch of Whole Foods juice plus champagne yeast, a similar version with added sugar to give the yeast more to munch on, then two batches with our fancier lager yeast with two different juices.
- 1. Whole Foods and champagne yeast.
- 2. Whole Foods Cider, 1/4 cup sugar, and champagne yeast.
- 3. Whole Foods Cider and lager yeast.
- 4. Market Cider and lager yeast.
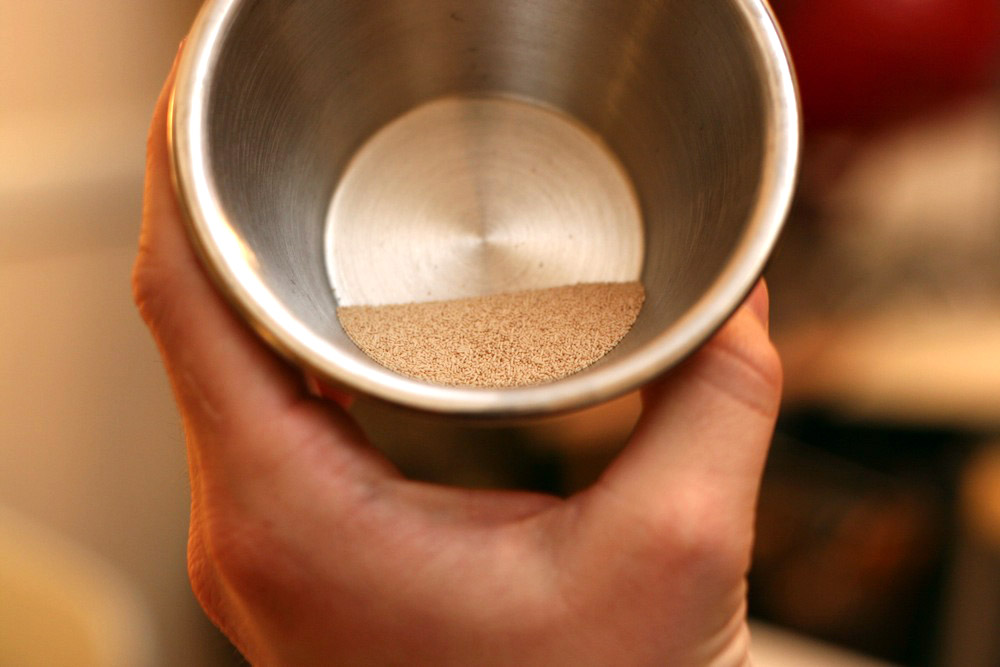
The process is about as easy as you can imagine. With the Whole Foods juices, we didn't even need to sanitize the bottle: just mix the yeast with a little warm water, then dump it in, put the cap back on, give it a gentle shake to distribute yeast. Though the exact amount of yeast to use is not a critical issue (the available sugars in the juice won't change, so what's available to eat doesn't change), most packets are measured for 5-gallon batches. We measured accordingly.

Then, we topped each bottle off with one of the airlocks (you pour a little water into the chambers, which essentially seals off the inside while allowing bubbles to escape). Any homebrewer store should sell them. The plastic parts fit into a rubber stopper which varies in size; in the case of the Whole foods jugs the #6 stopper fit well. The whole contraption is less than 2 dollars.
And, well, that's it. The lager yeast needed a little cooler temperature, so we stashed those in an exterior hallway, about 50 degrees or so. The champagne yeast ones are living in the closet, which is just slightly warmer. We have no idea when they will be done or what they will taste like. But we potentially have cider on the way. We'll keep you updated.
Comments:
Blog Comments powered by Disqus.